Autodesk Inventor is a 3D design software developed by Autodesk to create 3D digital prototypes. It is used for 3D mechanical design, design communication, tooling creation and product simulation. Inventor allows you to 3D design ideas and concepts so they can then be used for 3D printing and many other things.
Creating a Widget
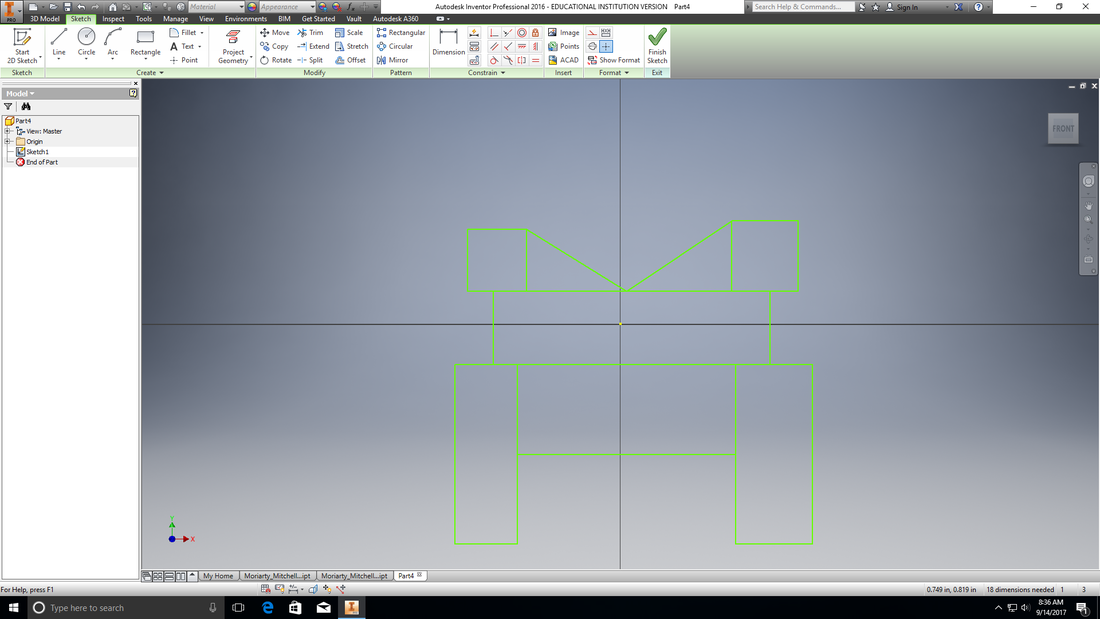
First, start by opening Inventor and creating a Standard.ipt Part. Create a 2D sketch in the XY plane.
Next, create the general shape of your widget.
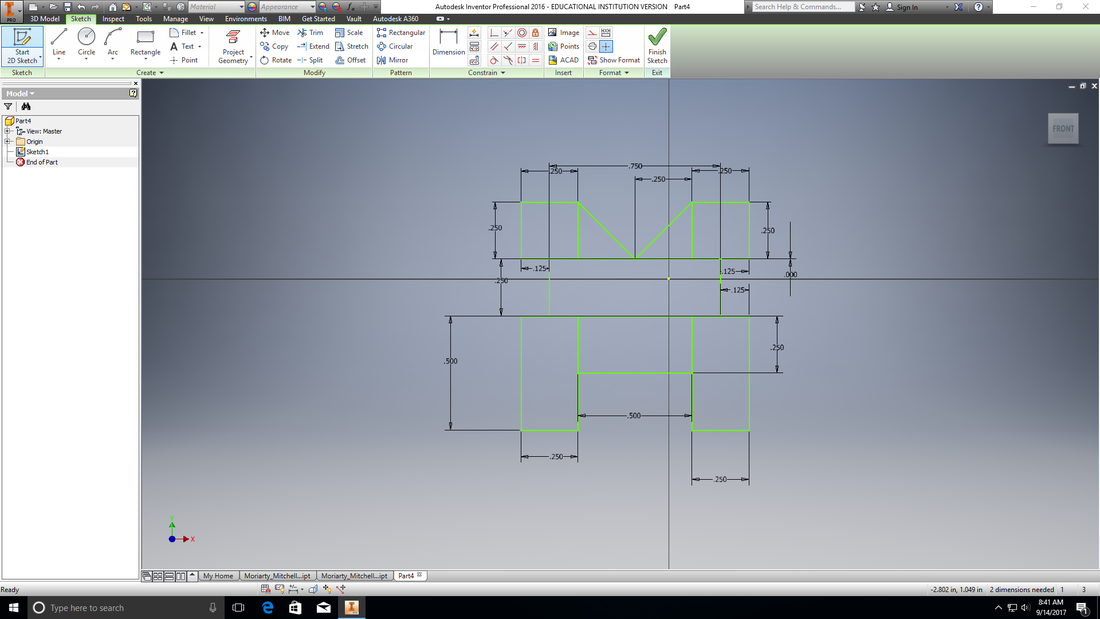
After, Dimension all sides of your widget; do not forget any sides.
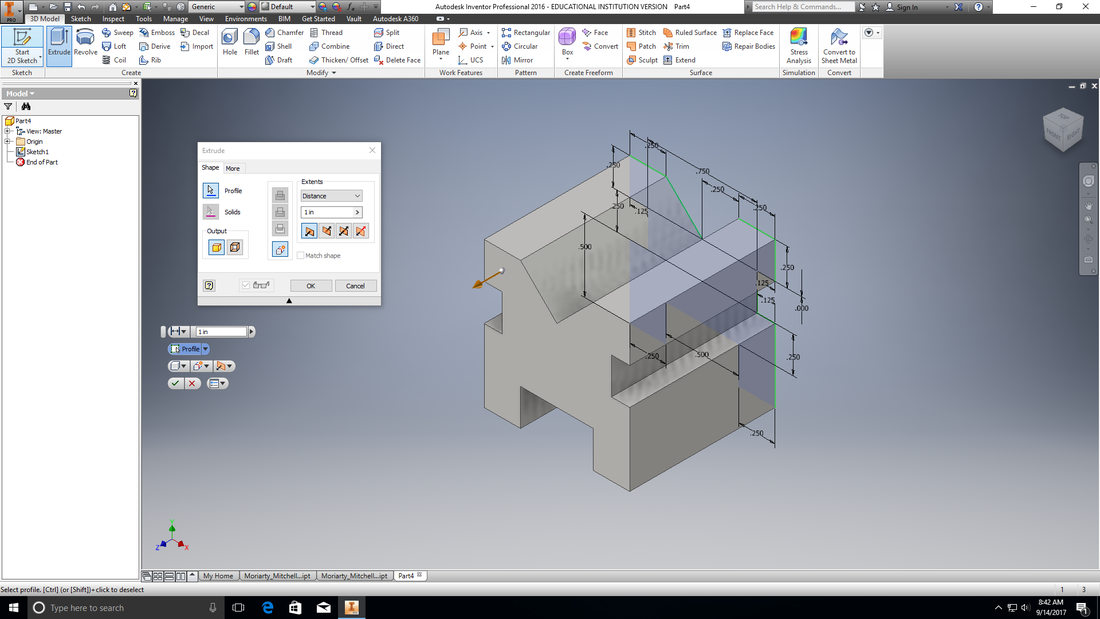
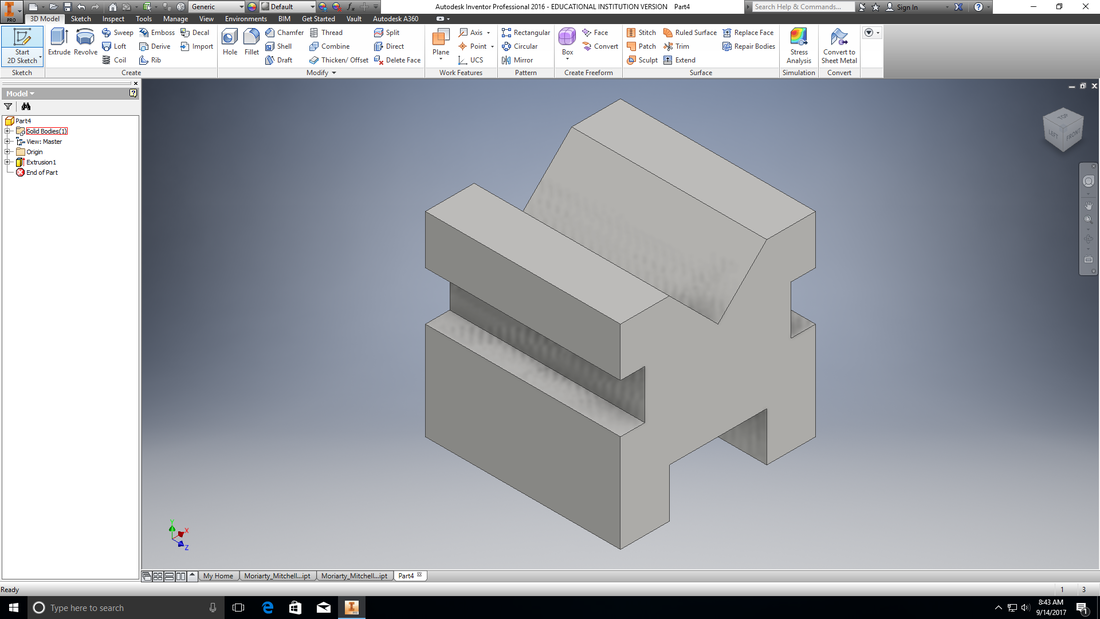
Finally, finish your 2D sketch and extrude all the parts of your widget to 1 inch and your finished!
Final Product
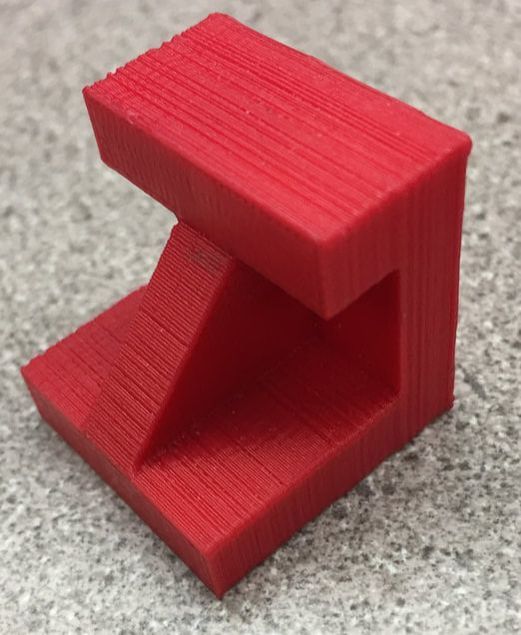
All 6 Widgets
I didn't really learn anything about inventor that I didn't already know, but it was super fun designing these widgets. A few things that I did learn was how to use Makerbot Desktop and how to then use Makerbot Desktop to go ahead and print our widgets using the Makerbot 3D Printer. One great lesson I learned during this project, is that it's always important to save your photos right after you take them. On my way to school one day my phone randomly stopped working. I was unable to recover valuable photos for this project such as, setting up my widget in Makerbot desktop, loading my file on to a Makerbot 3D Printer, and also pictures of my widget printing. Let my mistake be your lesson, save your photos right after you take them.
